Are you having trouble running your day-to-day applications?, Is your computer lagging a lot?. Well its time for an Memory upgrade, but before we can upgrade our RAM we need to understand how our memory slots and compatibility works.
Quick Intro
The memory on a computer is most commonly referred to as RAM (Random Access Memory), the main purpose of the RAM is to hold data and instructions from the CPU. RAM is volatile memory type. The RAM is located on chips called DIMM (Dual In-line Memory Module) which fit into memory slots. Most Motherboards differ in DIMM compatibility.
 |
| DIMM |

RAM Upgrade Process
- The first step to upgrading your RAM is understanding how much RAM your computer currently has and noting how many slots are available on the Motherboard.
There are two ways of checking how much RAM your computer reads:
Method 1: Enter system BIOS and go to System Summary (Picture below)
Method 2: Go to Control Panel -> System and Maintenance -> System

This motherboard has four memory slots available and two are reserved by 256MB x2 (512MB)

2. The next step in upgrading your RAM is to figure out the DIMM compatibility for your Motherboard
The best way to find your DIMM compatibility is by checking you Motherboard's manual.
There are multiple DIMM's available and they differ based on the number of connector pins.
This Motherboard uses DDR SDRAM 184 pin. I am going to upgrade from 512MB to 1GB using
256MB x4. I choose 256MBx4 instead of 1GBx1 because this configuration is cheaper in cost.
(Note: When using multiple DIMM configuration make sure they are all same memory and their capacity is supported by the Motherboard) 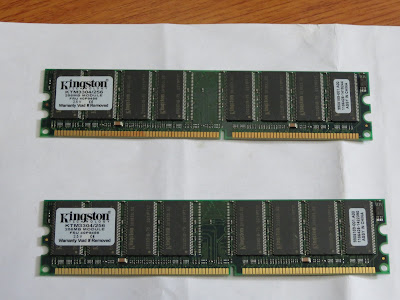

3. The next step is to pop the locks on the side of the memory slots down.

4. Insert the new DIMM's into the two empty slots. Gently place the DIMM onto the slot and apply steady pressure on top until the locks snap back on.


5. Before you close up the casing, turn the computer on and check the Memory the computer reads in System BIOS or control panel (system summary).

Thats all there is to upgrading your RAM, Good Luck!!